Review of the Wanhao Duplicator 6 plus 3D printer
Duplicator 6 Plus has become the most anticipated novelty of 2016. The stylish design, features that simplify work, and impressive characteristics have attracted the attention of both beginner 3D makers and experienced users. Enough time has passed since the release to judge whether the model is as good as expected. We'll tell you about the distinctive features of the D6 – what are the features of the device, the quality of printing, and whether it's worth upgrading the printer.
- Wanhao Duplicator 6 plus Review
- Wanhao Duplicator 6 plus Description
- Main features of Wanhao Duplicator 6 plus
- Who it's suitable for?
- Wanhao Duplicator 6 plus Set
- Print quality and examples of products (photos)
- Refinement and modernization
- Firmware
Review
Let's take a closer look at the technical characteristics of the device, its distinctive features, and see how well it copes with its work, using photos of printed models as an example.
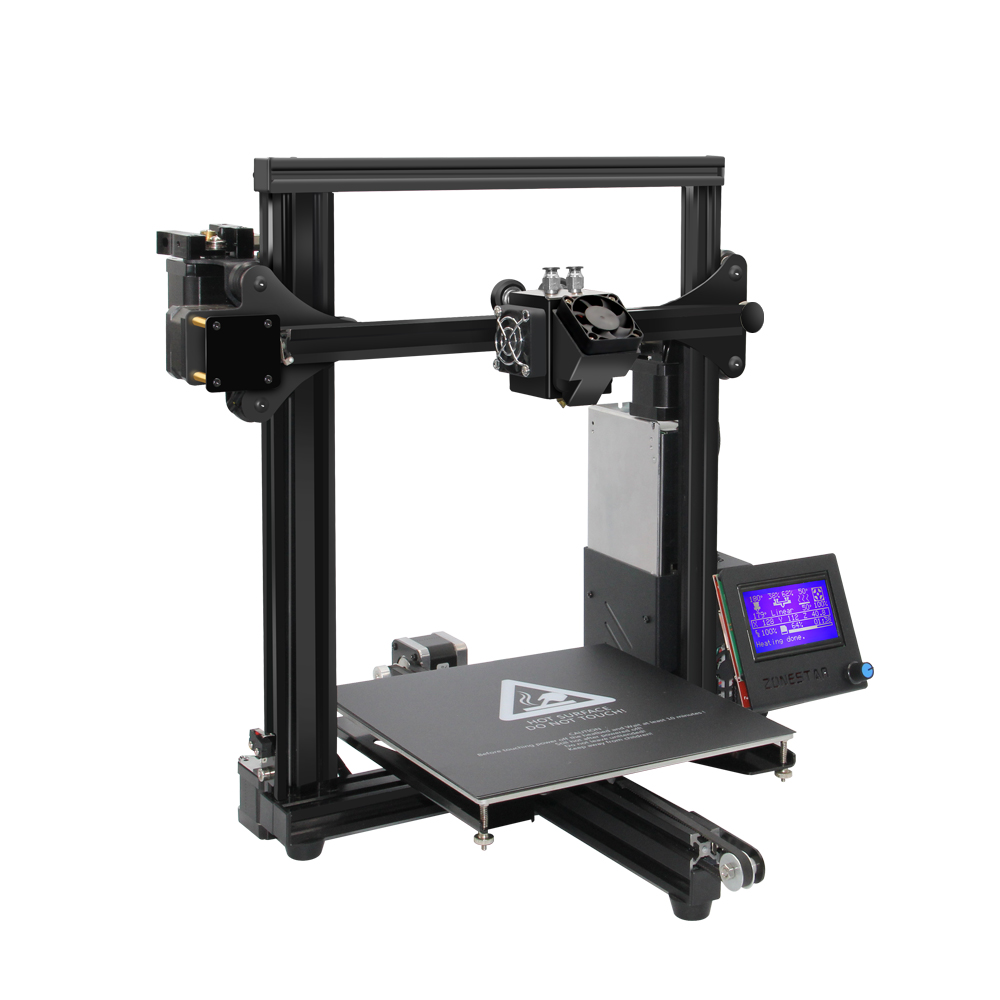
The model has a medium-sized metal case – the printer looks impressive and doesn't take up much space on the desk.
Printer description
Duplicator 6 Plus is an updated version of the Duplicator 6 printer. Released in 2016. It differs from its predecessor with a closed body and several enhancements, including a new extruder and a metal hot-end. Thanks to this, the printer can print at higher temperatures.
The extended functionality includes the print resumption option. Now after a power failure, work can be continued from where it was interrupted. Automatic surface alignment has been added.
The 3D printer has a build area of 200 × 200 × 180 mm, a heated platform, 1 extruder. For printing, it can use various plastics, such as ABS, Nylon, PLA, and other 1.75 mm thick filaments. A brass nozzle with a 0.4 mm diameter makes high-resolution printing possible. The layer thickness reaches 50 microns.
The Double-Track Gantry portal chassis system reduces swaying on the Y and X axes, speeding up printing and reducing errors.
Main features
- Fully metal hotend.
- Auto calibration of the print bed – even beginners can handle this with pre settings.
- Ability to resume printing after pausing or in case of power failure.
- Abandonment of a thick b using in favor of cable connection of the extruder.
- Stylish design and advanced technologies in a compact case.
- No sharp angles or corners. The joints are protected from dust and there is the possibility to make the case completely closed.
- Number of extruders1
- PrintFDM
- Practical layer thickness20 microns
- Print bed temperature120°C
- Extruder temperature160-300°C
- Working chamber area200 x 200 x 200 mm
- Speed30-150 mm/s
- Materials usedABS, PLA, HIPS, PVA
- Filament diameter1.75
- Nozzle diameter, mm0.4
- DisplayLCD
- Weight, kg18
Who it's suitable for?
The elegant and compact Wanhao D6 Plus will be an excellent companion on your desk. This 3D printer, with its high technical characteristics and an attractive price-quality ratio, will be a beneficial purchase for experienced users. For beginner 3D makers, this printer can be confidently recommended for purchase. Automatic surface alignment significantly simplifies work. High printing speed and ease of use make Wanhao D6 Plus a reasonable choice for learning, household tasks, and commercial use in production or office.
Set
Accessories included with the Wanhao D6 Plus 3D printer: power and USB cables. Also included are a spool holder, SD card, a set of hex keys, a spatula for removing models, a spool, the color and material of which will be chosen randomly. A user manual is included, fully in Russian.
Print quality and examples of products (photos)
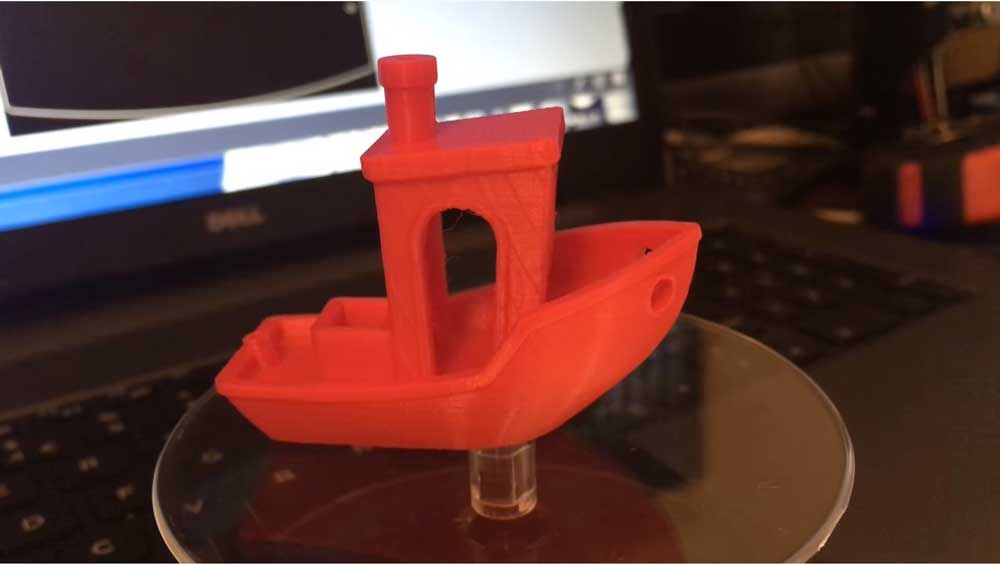
The print method used is Fused Deposition Modeling (FDM). The printer provides a high resolution of the layer for FDM printing. The quality of the finished products can be judged by their photos:
Refinement and modernization
What kind of modernization is necessary for the Wanhao D6 Plus printer? Detailed guide with instructions for self-upgrading the device.
Extruder modernization
First of all, when modernizing the printer, you should consider installing a more modern extruder: much depends on it. The manual details the process of installing the Bondtech kit. Due to the excellent original geometry, it is inevitable that re-flashing will be required. When the new firmware installation is complete, the "Restore to factory defaults" command must be executed to ensure that the new values are accepted.
Important!With some modifications, it is necessary to add a sealing ring that activates the final stop on the Y-axis, otherwise there is a chance that the extruder will strike the frame when returning to zero on the Y-axis.
The following is the sequence of further actions:
- Unload the filament and turn off the printer.
- Disconnect the cable and remove the board cover.
- Unscrew the screws holding the board.
- Remove the board.
- Unscrew the screws holding the guide rails.
- Remove the lower screws holding the stepper motor. Use a 2.5 mm hex key, support the motor to prevent it from falling, and carefully remove it.
- Unscrew the screws holding the mounting bracket, remove it.
- Disassemble the original extruder with a 2.5 mm hex key.
- Install a new gear on the motor shaft. Offset it by one millimeter from the top of the shaft. Be sure to pay attention to the orientation of the mechanism.
- Change the position of the cable wires of the motor, since an extruder with a reducer is used. If this is not done, the motor will rotate in the opposite direction. Take a sharp tool and press the crimp contact to retrieve the 2 left wires. They need to be swapped.
- Install the new bracket on 2 original screws using a 2.5 mm hex key.
- Mount the new extruder. Guide the PTFE tube into the bracket.
- Install the stepper motor.
- Tighten the 3 screws M3 × 35 for the extruder using a 2.5 mm hex key. Connect the motor cable. The flat cable is connected. The cover is installed on the top of the board.
- Since a 3:1 reducer is used, it is necessary to change the step value. Add M92 E415 to your gcode. After that, the extruder modernization is complete, and the updated printer is ready to go.
- The VGA cable connector needs to be cut off near the ferrite, which should then be removed. It comes off easily, it's just a matter of pulling it off.
- The bundle is then disassembled, and the wires are cleaned.
- For better soldering, the wires should be lubricated with flux, then tinned. The PBD-16 connector should also be tinned.
- The thick wires go to the 24V+ and heater lines. 4 wires surrounded by braiding looped around them are twisted into one and tinned, also connected to 24V+. The remaining wires can be connected arbitrarily. It is recommended to take a photo so that it is easier to solder the second plug later.
- Make sure everything is reliably soldered. Then pour in the thermal glue.
- Heat shrink is put on. It is worth marking where the top and bottom are. You can use nail polish.
- The same sequence of actions is repeated on the other side.
- The ferrites removed at the beginning can be put back. This should be done before soldering the cable from the other side.
Cable refinement
Sometimes during the operation of the Duplicator 6 Plus 3D printer, users encounter the following problem: the device starts to skip steps on the extruder or stops pushing the plastic. The likely cause of the malfunctions is cable abrasion. The factory cable is not designed for long-term use and therefore requires periodic replacement. One replacement option is a VGA cable. It is affordable, has the required number and length of wires.
Important!It needs to be remembered to test the wire before connection. Another important note is to mark the upper part of the connector so that when the 3D printer is turned on, the 24v does not go to the stepper motor.
Clamp for plastic in the hot-end
Users note that the design of the printers is not without flaws, the elimination of which is possible only through modernization. In particular, one of the significant shortcomings is the lack of an adjustable clamp for plastic in the hot-end. This complicates the work with different types of materials. Sometimes micro-cracks appear due to the fact that the feeding gear slips.
A possible solution is to make an adjustable clamp that will better fix the plastic in the hot-end. The easiest way to do this is to remove the stepper motor with the clamp, disassemble it, drill a 5-millimeter hole in the clamp lever, insert a bolt and a square nut M4, drill a partition under the spring. As a result, the above-mentioned printing problems will be solved by compressing the spring with a bolt.
Firmware
Duplicator 6 Plus is a worthy model that offers good functionality for its price. The declared technical capabilities allow for high-quality 3D models to print. Suitable for both home and commercial use. Most users are happy with their purchase, but many note that you need to be prepared for modernization. The factory cable quickly becomes unusable, and it's better to replace the extruder with a more modern one. For those willing to work on improving the device, the Duplicator 6 Plus is a successful choice. It is a stylish and efficient printer at a reasonable price.
