Printing a planetary gearbox on a 3D printer: features, advantages, and disadvantages
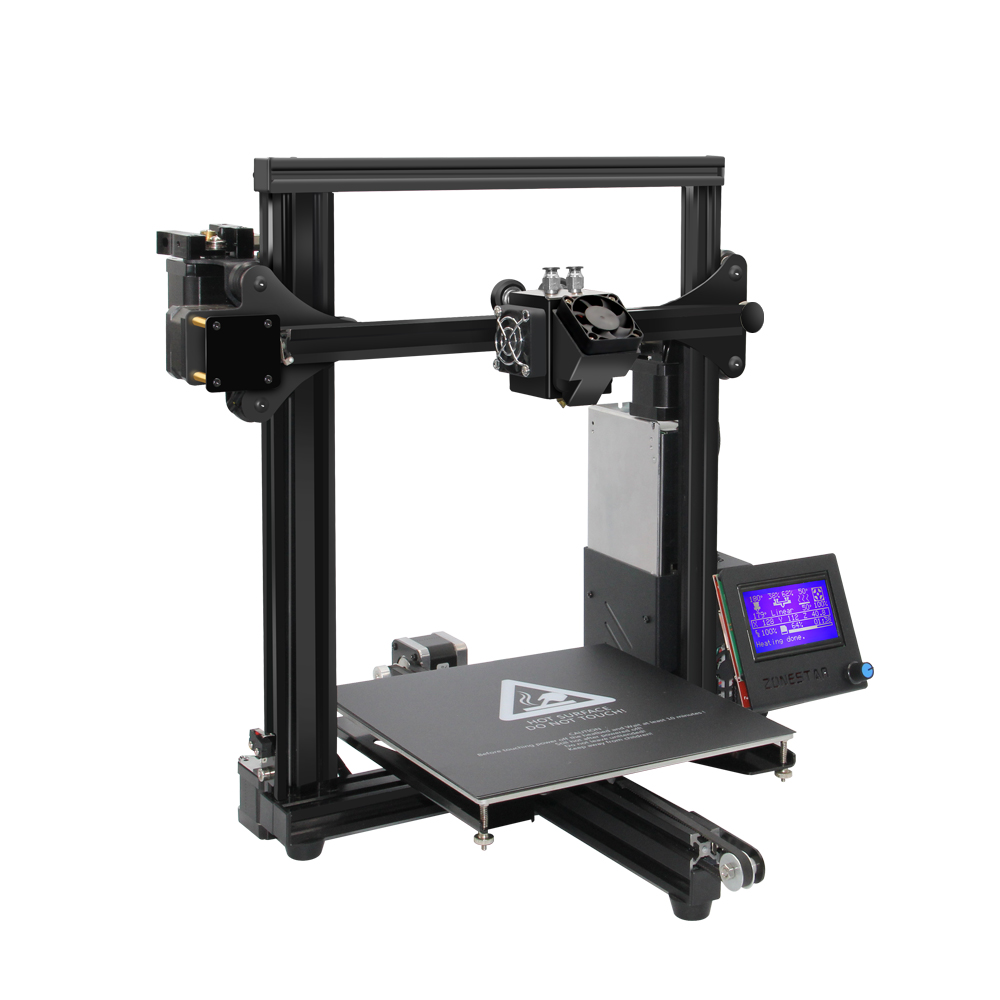
3D printing technology allows for successful modeling and printing of various products, including those with increased complexity. Printing a gearbox on a 3D printer at home has some features and requires preparation, but is quite possible.
- Gearbox on a 3D printer
- How to choose a model for a gearbox on a 3D printer?
- How to print a planetary gearbox on a 3D printer: step-by-step instructions
- Errors and ways to avoid them
Gearbox on a 3D printer
The gearbox is a mechanism that transforms the torque and power of the engine. This element is present in almost any machine, car, or other mechanical device. From a technical point of view, a gearbox is a set of gears that interact with each other and reduce the engine speed to the necessary rotation speed of the working unit.
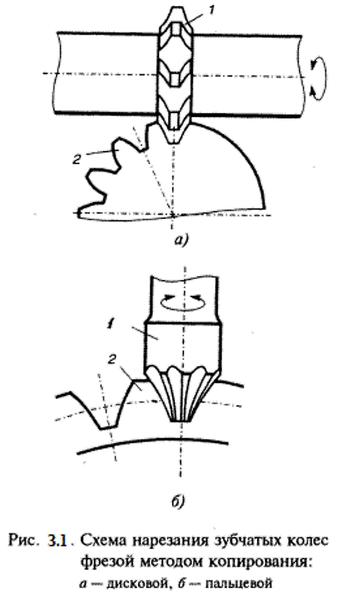
In the simplest version, the gearbox device includes engagement of the main gear and gears with teeth. At the moment of contact, torque is transmitted between the parts. The number of rotations of the parts is different, and depends on the diameter of the parts and the number of teeth on them.
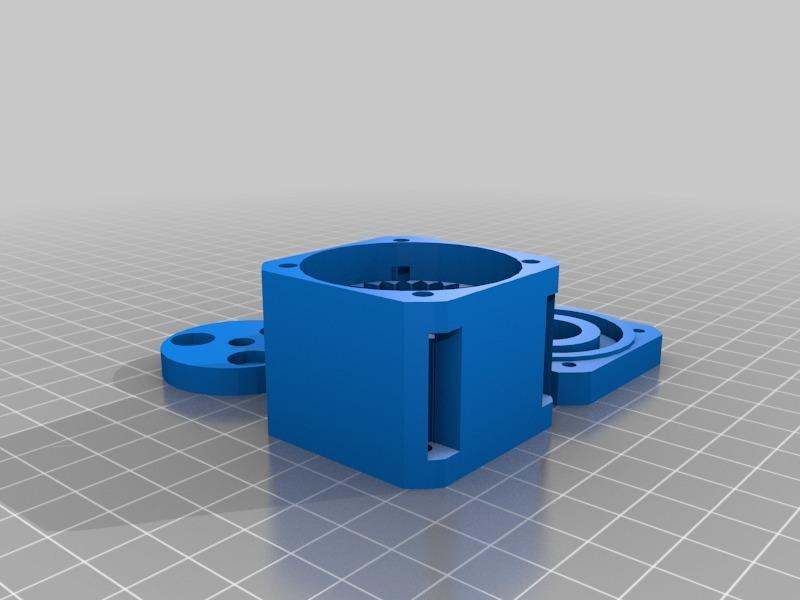
The gears and wheels must be firmly attached to the shafts or manufactured together with them. The device consists of:
- housing;
- cover;
- engagement pair;
- shafts;
- bearings;
- seals.
A planetary gearbox is a subclass of these devices, a mechanism in which one or more planetary gears are located.
A planetary gearing consists of the following elements:
- sun gear, which is located in the central part of the mechanism;
- satellites – gears that are positioned to be in constant contact with the central gear;
- epicyclic – wheels with external teeth and one internal tooth, which engages with the satellites;
- carrier – a connecting element for the satellites.
The principle of the gearbox device is based on the sequential transmission of the rotational moment from one shaft to another through the interaction of toothed parts, statically fixed inside the housing.
Printing a gearbox on a home 3D printer has its advantages and disadvantages. The advantages include:
- The ability to create a part that perfectly fits the situation. The user can take into account all the necessary dimensions and develop a model according to their requirements.
- Comparatively lower cost than purchasing a ready-made part.
- The ability to quickly create a replacement part that has failed. There is no need to look for a similar one for sale and order delivery.
- The self-made part will have a smaller weight and size.
- The design can be optimized for a specific project.
The disadvantages include:
- The need to create an exact model of the gearbox;
- Comparatively lower precision of the part compared to items produced by industrial methods.
How to choose a model for a gearbox on a 3D printer?
Most modern 3D printers use files saved in STL format. They describe the geometric features of the specified object in a three-dimensional coordinate system, without paying attention to color, texture, and other attributes of the model.
You can create such a file in any engineering program, including CAD, "Compass," and others.
IMPORTANT! To develop gear models, it is necessary that the chosen program has the appropriate module.
When developing models, it is necessary to consider the following parameters of the part:
- desired diameter;
- number of teeth in the gear;
- diameter and number of teeth in the driving wheel;
- rotation speed;
- circumferential force;
- rotor load;
- clearance and offset coefficients.
The model for the gearbox should be selected in such a way as to most fully correspond to its intended purpose.
How to print a planetary gearbox on a 3D printer: step-by-step instructions
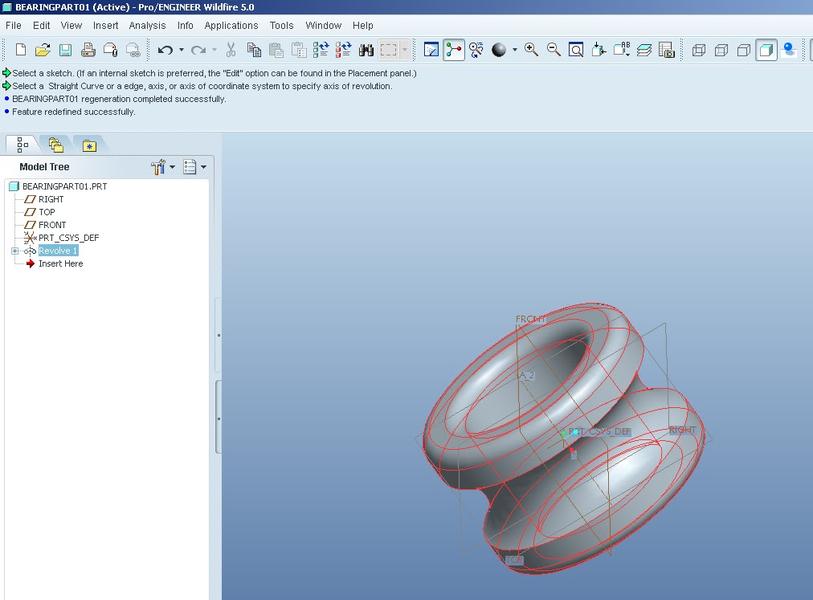
Printing a planetary gearbox on a 3D printer should start with the development of a model. For this, you will need to:
- open one of the applications in which gear modeling is available;
- start calculating the parameters of the model and specify the number of teeth in the gears;
- specify the module, calculating the value based on the diameter of the teeth and the model diameter;
- specify the backlash coefficient (0.4%) to prevent jamming during operation;
- specify the offset coefficient;
- form the gear model;
- build the model of the part's housing;
- export the model and save it in a format readable for the printer.
Next, you will need to set the printing parameters of the 3D printer. To do this, you should:
- Set the printer's printing parameters, taking into account the material used. It is recommended to print the product using support structures, printed as straight lines.
- Save the model and transfer it to the printer's memory.
- Before starting the printing, adjust the bed to avoid warping of the part.
- When the bed is adjusted, start the printing and wait for the extruder to heat to the optimal temperature.
- Before printing, it is also necessary to increase the adhesion of the surface by covering it with a special compound or film. This should be done just before printing, otherwise the part's adhesion to the surface will be insufficient.
- During printing, protect the part from possible drafts by closing the printer's chamber.
- After the printing is finished, remove the product from the bed and remove the support structures.
- When all the parts of the product are printed, the assembly is necessary, and if needed, post-processing should be done.
Errors and ways to avoid them
The most common errors in printing are incorrectly set printing temperature, layer printing speed, and insufficient adhesion of the first layer.
In order for the printing of the gearbox to go according to plan, it is necessary to:
- Adjust the printer to avoid jams and intermittent movement.
- Achieve an optimal room temperature or close the printer with a special cover to avoid drafts. If the temperature regime is disrupted, the product may deform.
- Correctly select the filament. The gearbox will be subjected to serious loads during operation, so the chosen plastic should be durable and impact-resistant. It is also recommended to choose a plastic that is less prone to shrinkage, for example, ABS.
- Adjust the filament feed speed and its heating temperature. Excessive heating can lead to the appearance of "spider webs," which will spoil the product, and the printing will have to be started again.
- The operational characteristics of the printed product depend directly on how thoroughly the support structures are removed. For the best effect, it is recommended to wash the product in ultrasonic baths with a special compound.
Printing a gearbox on a home 3D printer is a procedure that requires careful preparation. However, a product printed according to individual parameters will be much more effective in operation and will allow its owner to save significantly on both money and time.
