Post-processing methods for 3D models
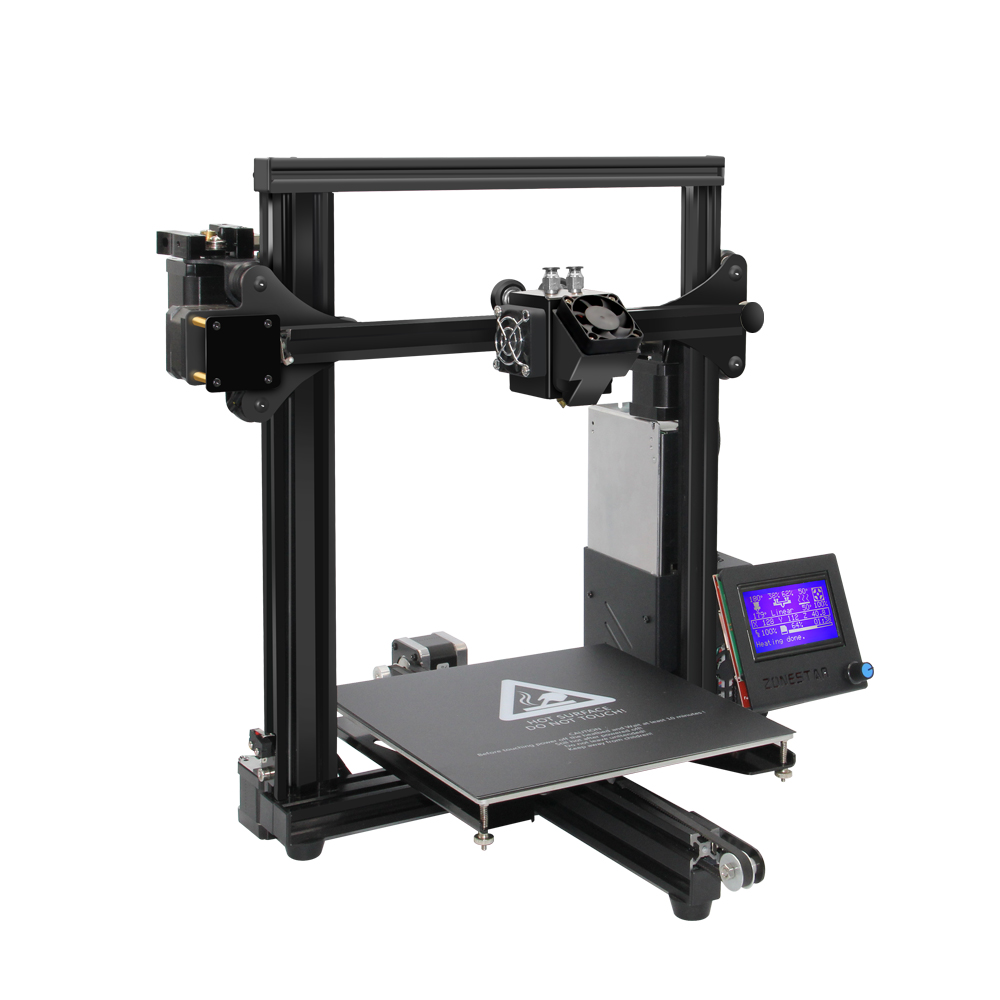
The FDM printing technology, in which the vast majority of lines are smooth, makes post-processing of printed objects an important step. This procedure is especially necessary in cases where the surface of the printed object needs to be smooth.
- Post-processing of 3D models
- How to process a model after 3D printing: step-by-step instructions
- How to polish transparent plastic and make it glossy?
- Post-Processing Mistakes and How to Avoid Them
Post-processing of 3D models
Post-processing is the process that occurs after the material is printed. It is necessary for the layered 3D model to have the highest quality appearance, without roughness and imperfections.
Post-processing not only gives the product a more professional appearance, but in some cases also makes it more durable by changing the material's elasticity, density, and some structural and textural features.
How to process a model after 3D printing: step-by-step instructions
Processing finished products after printing can be done using different methods. The choice of method depends on the ultimate goal and the characteristics of the filament used to print the product.
Removing supports
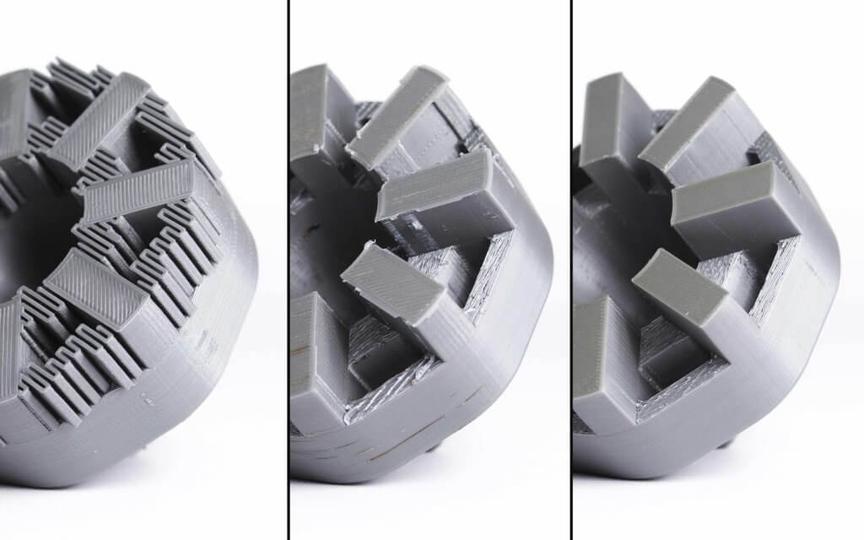
If the part was printed using support structures, the first task in the post-processing stage is to remove them. The method of processing depends on the type of material used to create the supports - soluble or insoluble.
It's important to emphasize that, unlike other finishing methods, removing supports is a necessary process. However, removing them does not guarantee an improvement in the quality of the surface of the object.
To remove support structures made from non-soluble materials, the following tools are needed:
- Pliers.
- A set of brushes with different bristle stiffness.
The material from which the supports are made is easily removed from the surface of the item. This process does not require significant effort. In hard-to-reach places (crevices, holes, etc.), excess layers can be removed using pliers or a brush.
Printing parts with support almost always leaves marks on the surface of the item. This not only worsens the appearance of the item, but also reduces the printing accuracy in the case of insufficiently precise calibration of the 3D printer.
Sanding
After all support structures are removed, the part can be sanded. This will not only level the surface, but also give it smoothness, and remove obvious defects and marks remaining in places of contact with support structures.
The choice of sandpaper depends on the thickness of the printed layer and the quality of the finished product.
For example, if the layer thickness is 200 microns, sandpaper with a P150 marking is suitable for post-processing. If there are obvious defects on the item, and the layer thickness during printing was 300 microns or more, sanding should start with the use of P100 sandpaper.
(and so on for other sections...)
``` This HTML content provides instructions and information about post-processing 3D printed objects, including detailed steps for various post-processing methods like removing supports, sanding, filling voids, priming, painting, epoxy coating, and more. It gives advice on how to avoid post-processing mistakes and provides information about polishing transparent plastic and metalizing.
