How to paint plastic figures made of ABS, PETG, PLA, and Flex
Painting is the final stage of working with a model printed on a 3D printer. Despite the apparent simplicity, painting plastic figurines can be challenging. To ensure that the final result is not disappointing, you need to know how to prepare the surface for painting and which materials to choose for each type of plastic.
- Painting 3D models
- What to use for painting PLA, ABS, FLEX, and PETG plastics: which paint is best?
- How to paint plastic: step-by-step instructions
- Plastic painting mistakes and ways to avoid them
Painting 3D models
3D-printed parts are painted with two goals in mind:
- to smooth the surface, removing visible layer boundaries and fine irregularities;
- to give the model a finished appearance.
Depending on the type of material, different treatment and painting methods are used.
What to use for painting PLA, ABS, FLEX, and PETG: which paint is best?
The chemical composition of thermoplastic polymers determines the choice of paints and varnishes:
- PLA is resistant to most solvents, and printed models have a smooth and hard surface that is difficult to process. Paint adherence to plastic is weak. The best result is achieved using acrylic pigments and epoxy resin-based compositions. PVA glue is added to the paint to increase adhesion to the model. Cellulosic dyes also work well.
- ABS is a plastic that reacts with acetone and similar solvents. Paints based on these solvents should not be used for tinting. Epoxy and acrylic paints adhere well to the surface, effectively concealing cracks and layer boundaries.
- Elastic paint compositions are recommended for FLEX products: water-dispersion suspension, acrylic copolymer, and their mixtures. These paints effectively mask minor irregularities and do not crack.
- PETG only reacts with dichloromethane, so products made from this plastic can be painted with any type of paint, including those based on different solvents. Acrylic is recommended, as nitro enamels and alkyd pigments have a strong odor that takes a long time to dissipate. The adhesion of acrylic compositions to the model's surface is worse than that of other paints. To increase the durability of the paint, a layer of lacquer can be sprayed on top.
Automotive aerosol, paint in jars for brush or airbrush application, is suitable for the job. A water-soluble polyacrylic enamel is considered universal, suitable for treating filament of almost any type. On the label, look for the indications "for plastic" or "for use on plastic."
Important! Like the paint, the primer should be chosen so that its basic solvents do not damage the model. Remember that nitro enamels, paints, and alkyd-based primers are not suitable for ABS.
How to paint plastic: step-by-step instructions
The result of the painting work largely depends on how meticulously the surface of the part was processed. The preparatory stage often requires more effort and time than the painting process.
Preparing the plastic before painting
A careful inspection of the model will help identify printing defects—deep recesses and cracks that cannot be removed during sanding and priming. These defects are rectified using epoxy resin. Small spots and visible layer boundaries are hidden by abrasive materials and then primed.
- Sanding is done using sandpaper or an abrasive sponge. For rough processing, a material with a grit size of P180 is used, and P400 is used for finishing. Using fine-grained abrasives is not advisable, as they do not adhere well to the glossy surface. The surface is matted during sanding for better adhesion to the paints and coatings.
- For sanding ABS and PETG, a waterproof abrasive material should be chosen, and sanding should be done with water. Intensive movement heats the part, especially PLA, which increases the plastic's flowability. Patience is necessary when working with vertical surfaces to prevent plastic flow.
Important! Even if the part has been treated with a solvent to smooth out the defects, it is necessary to sand it to remove the gloss.
- Cleaning and degreasing. The model is washed in soapy water and then dried. The detergents in the soap act as degreasers. It is recommended to treat the model with an antistatic to prevent the charged surface from attracting dust.
Priming
Primer is a type of paint that creates surface uniformity and increases its adhesion properties. It is available in aerosol cans and containers for brush application.
- The primer is applied in two to three coats with a mandatory waiting time for each coat to dry, as indicated in the composition's instructions.
- Final sanding. Abrading the primed part is necessary to improve the surface quality. For sanding, it is advisable to use sandpaper with a grit size of P600 and higher. Since the paint adheres well to the primer, it is possible to sand the glossy surface without fear of the pigment not adhering.
Important! The primer and sanding cycle can be repeated if the preparation result is not satisfactory.
- Second cleaning. The model is washed again with soapy water to remove dust after sanding and to degrease it. Dishwashing soap is best for making the soapy solution.
Tips. When working with an aerosol, the composition is sprayed in circular motions from a distance of about 20 cm in a thin layer to prevent runs.
What is needed for painting?
- Organizing the workspace. The area for applying primer and paint should be prepared—create an improvised box to protect interior items from the splattering pigment particles.
- Materials. Choice of paints: aerosol, in jars. Varnish.
- Tools. Brushes—artistic or manicure, airbrush, abrasive materials for sanding.
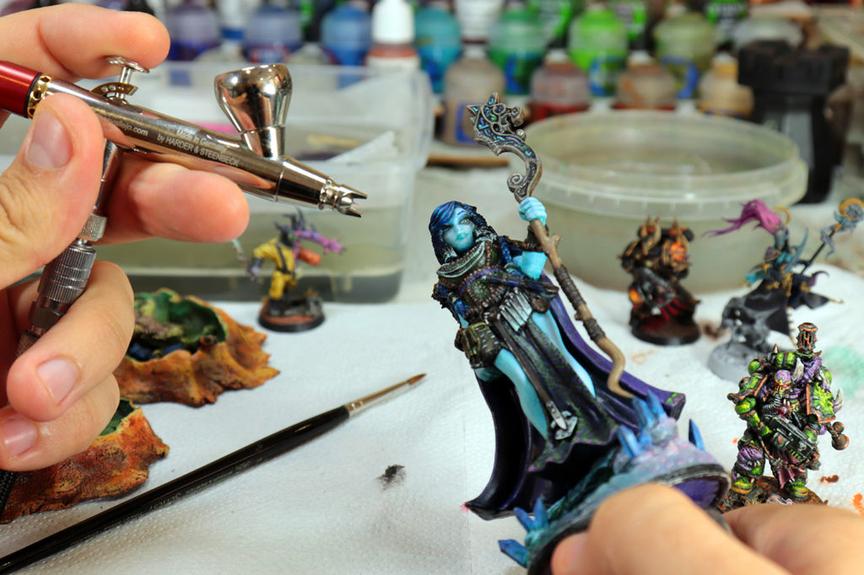
Additional information. To achieve a handmade effect, it is necessary to use brushes. An airbrush is a tool for professionals, and working with it is quite challenging.
Painting plastic
During painting, it is important to follow the main rule—apply the pigment in a very thin layer. It is better to apply several semi-transparent layers than one thick layer. This will help avoid runs, which can be difficult to remove.
The main tone is created by aerosol paint, while fine brushes are used to highlight details. During spraying, the can should be held at a distance of 10–30 cm from the painted surface: the distance from the painted surface affects the layer density.
Attention! The room temperature should be within the range specified in the recommendations for using paints and coatings. During drying, the item must be protected from dust. Until the paint is completely polymerized, the surface should be protected from mechanical impacts and high humidity.
Washing
To emphasize the relief, highlight recesses and protruding segments, and create shadows, the washing technique is used. It is performed using liquid paint: the pigment is diluted in a 1:1 ratio with a solvent; for acrylic paint, water is used. The technology involves abundantly applying a liquid wash to the already painted model, the shade of which is significantly darker than the base color.
The paint fills all the recesses and remains in them. This visually emphasizes wrinkles, joints between brick, bolt heads, and other small details. After processing with a wash, the model looks most natural. For better paint flow, the figure is pre-coated with glossy varnish.
Final processing
Applying varnish is the final stage of painting. Transparent varnish gives the finished appearance, protects the paint, and increases its durability. Different varnishes are offered for creating a clear coat—matte and glossy. Not every model needs a glossy finish. To avoid excessive "toy-like" appearance, it is better to use matte varnish for the finishing coat, such as the walls of buildings, clothing elements, and animal figurines.
Additional information. The varnish is selected based on the composition, identical to the paint. For acrylic pigments, a water-dispersion acrylic varnish is suitable. It is sold in jars and aerosol cans.
Plastic painting mistakes and ways to avoid them
Defects that occur during painting are the result of simple oversights:
- The model develops spots resembling craters. Cause: traces of grease remain on the surface. Thorough degreasing of the figure before painting is necessary.
- Glossy areas alternate with matte areas. The primer was applied unevenly; matte areas appear where the primer layer is thinnest and the porous surface absorbs pigment. It is advisable to sand the part again and repeat the priming process.
- Blisters or wrinkles appear on the surface. This is the result of the incompatible paints. It will be necessary to remove all the paint, sand the model, and repeat the entire treatment cycle from priming to painting.
Attention! The entire range of paints and coatings—from primer and paints to finishing varnish—should be chosen based on the base solvent.
- Paint runs on vertical surfaces, and bubbles and orange peel appear on horizontal surfaces. The defect occurs when applying too thick a layer of pigment or spraying the aerosol from too close a distance. Painting vertical surfaces requires special attention: the thinner the layer, the lower the risk of paint runs.
By following simple recommendations, mistakes in painting models can be avoided:
- Do not mix different types of paints;
- Apply the paint in thin layers;
- Follow the paint manufacturer's instructions: maintain the specified temperature, drying time for the layers;
- The surface must be clean and dry.
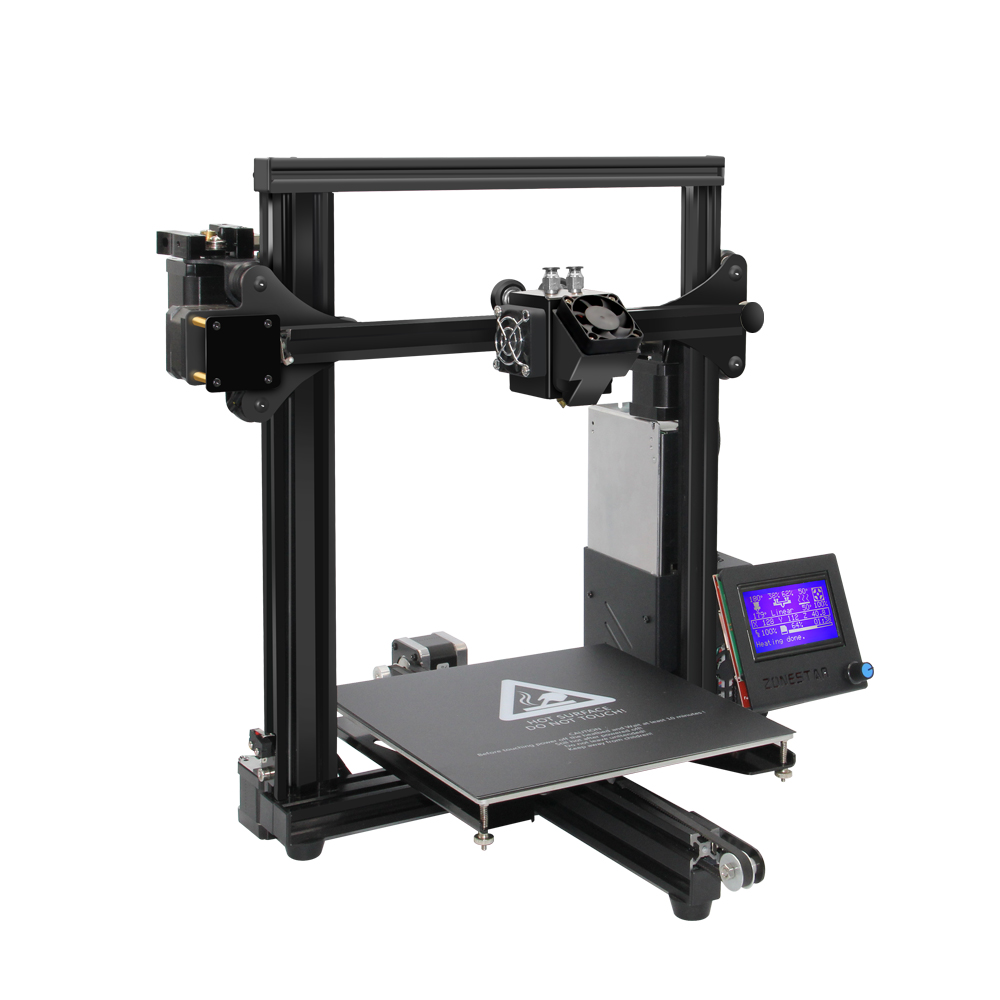
A 3D printer allows the creation of various spatial objects. Further processing turns the models into true works of art. Painting three-dimensional figures requires immense patience and adherence to the process algorithms, starting with surface preparation and ending with varnishing. But the end result will be a source of admiration not only for those around you but also for the creator of the 3D model.

