How to load a trimmer line?
Most likely, the majority of 3D makers have heard of printing trimmer line. This is a thin rod that is inserted into a manual lawnmower. It is also sold on spools. And some printers use it as a consumable material.
- Trimmer line on a 3D printer
- Parameter settings for printing with trimmer line
- Printing with trimmer line: step-by-step instructions
- Printing errors with trimmer line and ways to avoid them
Trimmer line on a 3D printer
Nylon thread, also known as capron, is the designation for trimmer line. Usually, it comes in yellow, reddish, blue, or green colors. The material can be found in a regular construction or gardening store. The line is placed in the cutting head of the trimmer. In fact, nylon acts as a kind of knife that cuts the grass while the trimmer head coil is unwinding. The thickness of the nylon rod can range from 1.3 to 7 mm.
A large number of printers choose trimmer line precisely because of the high cost of regular nylon. And this is a justified decision. Let's compare two different rods:
- Line from a hardware store: 1.6mm Hammer, 15 meters - 85 rubles per coil.
- Plastic from a specialty store: 1.75mm U3Print Nylon Super, about 200 meters - 1750 rubles per spool.
By simple calculations, we can see that regular nylon from a hardware store is almost twice as cheap as the professional consumable. And this is with a fairly expensive coil of line. Nylon for the trimmer can be found for around 40 rubles / 15 meters with similar characteristics.
Attention! When buying line, pay attention to the section of the rod. There are spools with a round and square section. The square ones are not suitable for printing on a 3D printer.
Parameter settings for printing with trimmer line
Naturally, the line is not a calibrated nylon specifically designed for 3D printers. To print with this filament, you need to set the correct printing parameters:
- Extruder temperature: from 235 to 255 °C. This needs to be experimented with. It all depends on the material you purchased.
- Worktable temperature - 110 °C.
- Nozzle diameter - 0.4mm for 1.75mm filament.
- Be sure to set the supports in the slicer.
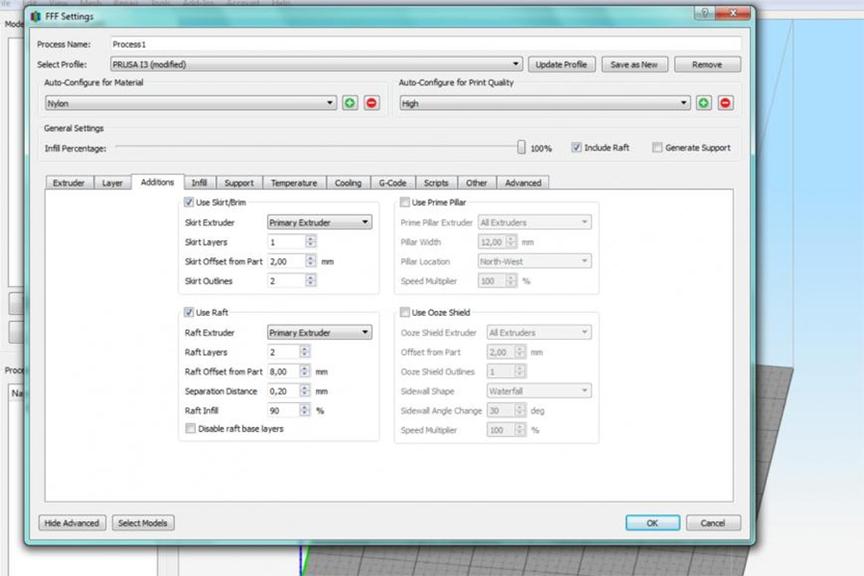
- Print with a raft for better adhesion.
The rest of the settings need to be adjusted by trial and error. In any case, the 3D maker will be looking for the optimal parameters for their printing device and the line. We are only providing general parameters that work in almost all cases.
Additional settings that may help in the work:
Information! In the slicer, you need to create a duplicate of the Nylon filament profile, and then make changes to it.
Printing with trimmer line: step-by-step instructions
When working with the line, it is necessary to follow a certain sequence in order to ensure smooth printing without defects:
- First, it is necessary to dry the coil with the nylon. Some printers use a convection oven for this purpose. You can also use a construction hairdryer. Set the temperature within 80-100 °C, place the spool in a plastic container. Dry the line for approximately 1.5-2 hours. Do not overheat the plastic and the container itself. It is necessary to ensure even heating throughout the entire spool, but not overheat it.
- Immediately after heating, you can wind the rod onto a standard filament spool.
- Wipe the table with an ABS solution or spray its surface with inexpensive hairspray. It's better to use strong fixing hairsprays. This is a cheap and quick method.
- Set the printer settings. If necessary, calibrate the printer.
- Try to extrude a test model. It can be a cube or another shape.
- Start printing the model.
If there are problems with adhesion, it's worth trying to adjust the temperature settings of the print bed slightly.
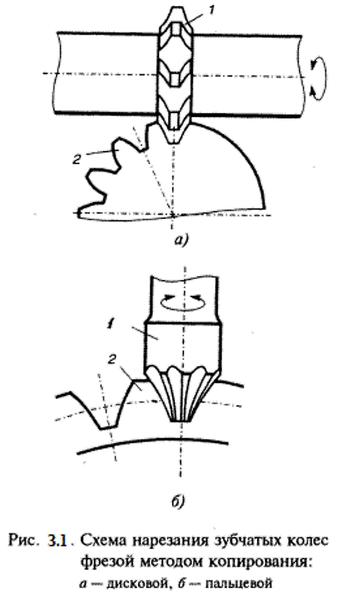
Ready-made gear, made of trimmer line
Important! Some printers use Kapton (heat-resistant tape). Nearly all users note that the model comes off the tape well and does not break off.
Printing errors with trimmer line and ways to avoid them
Let's list a number of errors that can occur during printing:
- Rapid consumption of filament. A standard spool of Nylon plastic exceeds the mark of 200 meters. A spool of line is only 15 meters. It quickly runs out, and the print can stop at the most inconvenient moment. Pre-splice several rods into one strand. Do this immediately after drying, when you will be winding the material onto the spool.
- Poor teeth engagement. This is a common issue when using Nylon. The filament slips. The gear can't grip it. You need to adjust the pressure roller. Increase the clamping force. But not too much. Otherwise, it will produce shavings. It's also worth replacing or modifying the gear. Some 3D makers make small notches on the gear using a diamond emery board or grinding disc.
- Material comes out in chunks, fibers. These are usually the drawbacks of expensive line. Use the cheapest consumable. As the experience of dozens of printers shows, it is the one that has the optimal physical characteristics.
- Blank spaces in the print. It may be necessary to reduce the filament feed rate and increase the heating temperature of the print bed.
In any case - experiment and try your own settings. Fortunately, the price of trimmer line allows for this.
Interesting! It's also possible to try changing the line thickness in the slicer in order to improve print quality. For example, use a smaller thread diameter.
Trimmer line is an excellent consumable material that costs almost twice as cheap as its professional counterpart. At the same time, it doesn't significantly compromise on quality and physical characteristics. Before printing with the line, it is necessary to carry out a series of manipulations, namely: calibrate the printer, prepare the nylon, and treat the printing surface.
