Complete guide to creating sketches for printing items on a 3D printer
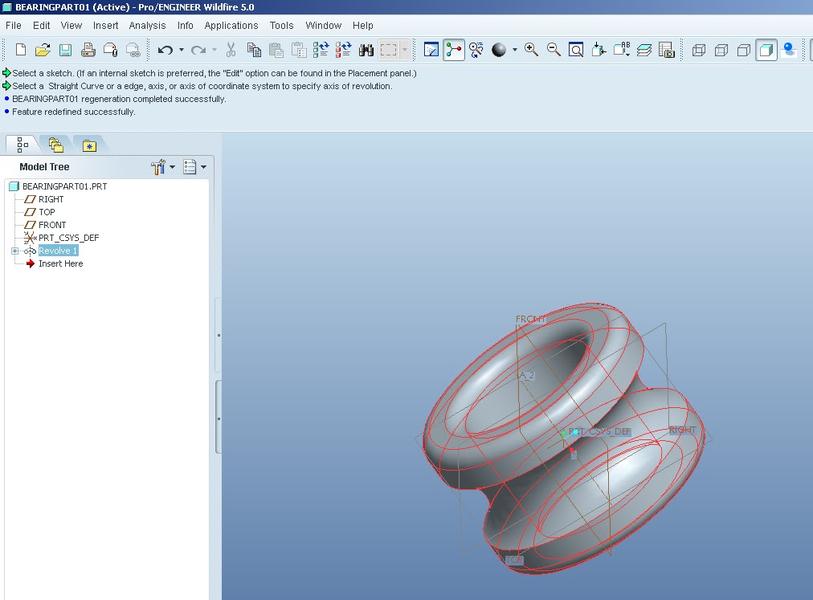
Before creating any product on a 3D printer, you will first need to create its digital sketch. To do this, you should develop a model or prototype of the product in a specialized program. Let's consider which 3D models are most popular for layer-by-layer printing, the nuances, and a step-by-step guide to their creation.
- What are sketches for a 3D printer and why are they needed?
- What models are in demand?
- How to make a drawing yourself?
- What programs are needed to create a model?
- What to consider to create a 3D model without errors?
What are sketches for a 3D printer and why are they needed?
Sketches (also known as models, prototypes, blanks) for a 3D printer are digital files made in STL format using specialized programs. They schematically describe the surface geometry of a three-dimensional object, without considering its texture and color.
For printing an STL sketch, a code controlling the 3D printer, compiled by a slicer, will be required. To put it simply, the model will need to be sliced in a slicer program into layers that will be printed sequentially by the printer. Usually, such a file has a gcode extension.
What models are in demand?
3D printing is a versatile tool that can be used to print a wide variety of products. The ten most commonly used types of models for creating various types of products are:
- Automotive parts
- Souvenirs
- Personal protective equipment
- Educational and advertising models for visual presentation
- Surgical and dental models
- Fishing gear
- Holders for phones, cups, cameras
- Furniture fittings and decorative elements for clothing
- Appliance parts
- Musical instruments and parts for them
How to make a drawing yourself?
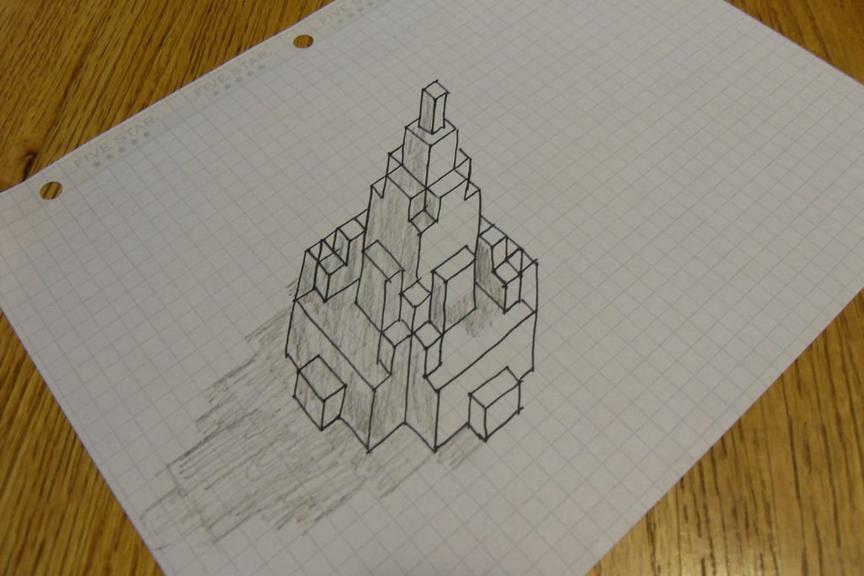
To create a 3D product on a printer, the drawing must first be schematically executed and then transferred as a three-dimensional model to a special 3D modeling program. A schematic drawing of the object with all dimensions and spatial arrangement is made on a sheet of paper using measuring tools (ruler, compass, calipers).
What programs are needed to create a model?
A three-dimensional model can be created using a full-featured 3D modeling editor. Here is a brief list of the most convenient programs to work with:
- Free: Blender, Sculptris, Daz Studio, Softimage Mod Tool, Vue, OpenSCAD, FreeCAD, TinkerCAD.
- Paid: AutoCad, Houdini, 3DS Max, Cinema 4D, Meshmixer, Modo, SolidWorks, Sculptris, Maya, Rhinoceros, 3D, ZBrush, SketchUp.
Preparatory actions
For the convenience of working in any 3D modeling program, the user is recommended to first adjust the workspace for 3D printer models.
Then, in the unit settings, the user should set the metric system of measurement and establish the scale. After that, you can start creating the object.
Creating a three-dimensional object
The steps for creating a 3D model will depend on the functionality of the program used. In general, the creation of an object will be performed in the following order:
- Choosing the parameters of the model's external appearance. At this stage, one of the templates preset in the program can be used as a basis.
- After adding a shape to the workspace, levers and various modifiers (extrusions, roundings, indentations) can be used to give the model uniqueness.
- Parallel to creating the model, the sizes and dimensions of individual parts should be adjusted.
- At the final stage, colors and textures are chosen for the figure.
Checking the project for compliance with general recommendations
Before completing the creation of a three-dimensional object, the most important aspects that will affect the quality of the final product should be taken into account and the project should be optimized. For correct printing of the model on a 3D printer, it is recommended that the surfaces of the figure in the project do not overlap. This cannot be allowed, as a printing error could occur, which would lead to problems with the quality of the figure. Therefore, all surfaces of the three-dimensional object should only touch, forming a single model.
Exporting the project
Exporting the finished project in STL format is the final stage in preparing a three-dimensional model for printing. It is carried out in the following order:
- In the "File" tab, select "Export", "Save as...", or "Save project".
- Then choose the required file format (stl) and the location for storage on a local or removable drive.
- After saving the project, it is transferred to a flash drive or SD card, which can be inserted into the printer, or printed directly from the computer if it is connected to a 3D printer.
What to consider to create a 3D model without errors?
You can prevent printing defective or lower-quality parts or components when creating a 3D model. To do this, it is worth considering the most common mistakes users make in the model creation process, such as:
- Lack of support.
- Creating overly thin elements.
Adding support
When creating a complex three-dimensional object with multiple transitions, it is necessary to include supports (braces) in the project, which will support the parts of the model hanging in the air. Supports are printed together with the model and are easily removed after printing is complete.
Wall thickness and hole diameter
Lines created in the project should not be too thin. Extremely thin elements can be very fragile or may not be printed due to the particularities of the printer's extruder nozzle.
Tip: When using an FDM printer, it is recommended to model the walls of objects with a thickness equal to at least two diameters of the printer's extruder nozzle. When printing on a photopolymer 3D printer, the thickness of the thinnest part should not exceed 0.5 mm.
Therefore, if there are thin details, they should be eliminated. And if this is not possible, you should either increase them or add support.
Creating a three-dimensional sketch, drawing, or model for printing on a 3D printer is a simple process that you can learn on your own. To print simple objects, you will need to learn the basics of 3D modeling, which will be easily reflected on the specific printer. However, for creating more complex models, deeper knowledge, educational materials, and tutorials that can be easily found on the internet in open access will be required.
